

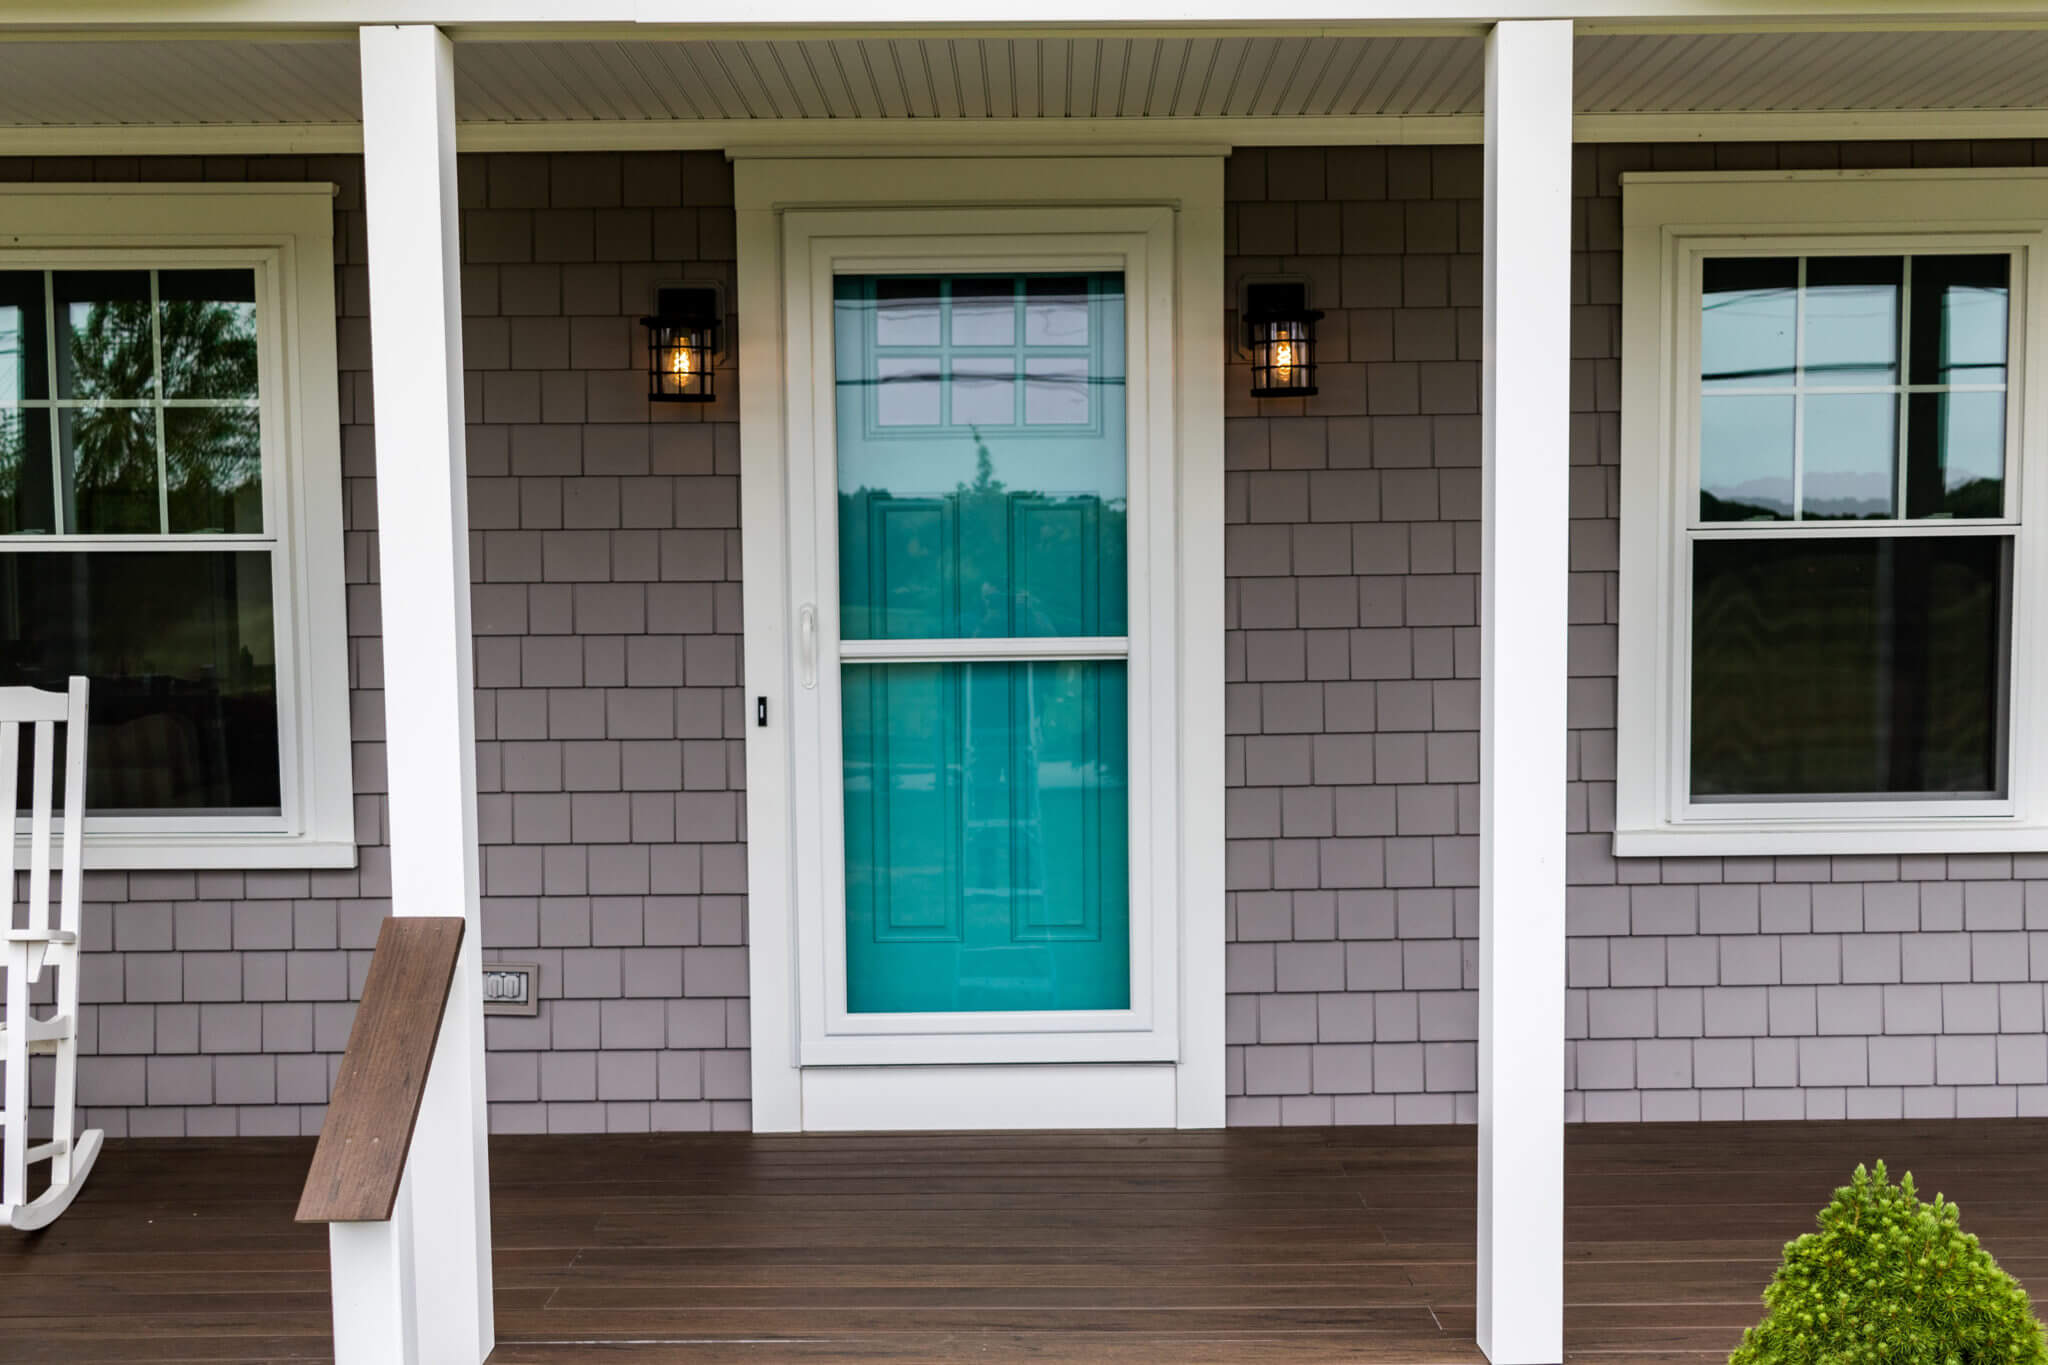
How to Paint Your Front Door in 6 Easy Steps
Your front door is the heart of your home. It’s the first thing your family, friends, and neighbors see as they approach or pass by your home. It’s also the first impression they make upon arrival. Adding a fresh coat of paint is great way to freshen up your home and add to your home’s curb appeal.
Get a jump-start early in the morning to allow for sufficient drying time.
What you’ll need:
Screw driver to remove door hardware
Palm sander and/or sandpaper
Damp cloth or paper towel
Small paintbrush
6” roller and tray
Primer
One quart of desired paint color
Step 1: Choose a Paint Color
Take and print out a recent picture of your home. Visit your local hardware store with the picture of your home in hand and pick out color swatches that compliment your home.
It’s easier to pick complimenting colors if you know what colors are prominent on and around your home. When choosing a color, specifically look at the surrounding colors of your home including your home’s exterior and accent colors, driveway and walkways, roof color, and foliage. Use the photo to place color swatches on the front door to get a quick idea of what colors are a good fit.
Take your swatches home and tape them to your front door to get a better sense of what color will work best in natural daylight.
Step 2: Prep Door Your Door
Before you begin, remove all of your door’s hardware including the doorknobs and locks.
Give your door a good cleaning with soap and water to clean off any dirt and grime.
Use a palm sander or a folded up sheet of sand paper to roughen up the surface of the door. Sanding first helps the primer and paint adhere better and last longer.
When you are done sanding, wipe down the door with a slightly damp cloth to remove any leftover dust from sanding.
Step 3: Prime Your Door
Using the paintbrush and roller, paint on one coat of primer starting with the areas the roller won’t be able to reach.
Once the primer has dried, go over the door again gently sanding it and wiping it down with the damp cloth.
Step 4: Start Painting
To start painting your door, you your paint brush to start painting the details like the trim and any insets. Paint around the edges, and in any creases and corners.
Step 5: Paint the Surface of Your Door
Poor your paint color into the tray and use your roller to roll on the paint over the flat surfaces and edges of your door. Since your door will be exposed to the elements, you’ll want to apply 2-3 coats of paint to create a thicker amount of coverage.
Let the paint thoroughly dry between each coat of paint.
Step 6: Finishing Your Door
Once the paint has thoroughly dried and cured, usually a day or so, it’s time to reattach your door’s hardware. This is also the perfect time to install new knobs and locks for an even newer look.
Hang a beautiful wreath on your door and you’re done.
Keep your front door in great shape by regularly cleaning it, freshening up hardware, changing up decorations, and weatherproofing.
We’re ready to help you get started with your project!
For a free estimate and consultation for your roofing, siding, or windows, call us at 401-438-1499 or email info@marshallbr.com.
Please contact me.
"*" indicates required fields
Get helpful tips in your inbox
We send one email per month – that's it. Our goal is simply to help you navigate the world of home repairs.

Windows – How can I be sure I’m getting the best price and getting my money’s worth?
Tuesdays with Tom Windows Read more